Sunday, January 08, 2012

Gathering Up a Few Holiday Memories

No matter how much I simplify and/or prepare in advance, the days approaching Christmas are always busy but once when we sit down to Christmas dinner I breath an inner (and sometimes outer) sigh of relief, looking forward to the celebratory feast and the week of casual celebrating and relaxing with family and friends. The week between Christmas and New Years is my favorite week of the year.

We celebrated our first Christmas in our new home in Mafraq by joining the Christmas morning celebration at Annoor Sanatorium for Chest Illnesses. While the staff and some others received guests, mostly ex-patients and their families, the kids and I helped with crowd control for the children, as over one hundred children listened (well, mostly) to a presentation of the Christmas story.


After the morning festivities we scurried home to prepare for Christmas dinner, which we were delighted to share with friends from five different countries: Korea, England, Belgium, Egypt, and Sweden. As we enjoyed our dinner together, each shared Christmas traditions from our home countries. Did you know that cranberries are part of the traditional British Christmas dinner? Our hegemony is complete!


The day after Christmas was for sleeping in, staying in pajamas until noon, cleaning up, and receiving a few visitors come to wish us a blessed Christmas. Holiday visits are an important part tradition in both the Christan and Muslim community in Jordan.

Holiday treats served to guests

On Tuesday we took advantage of the nice weather and took a day trip to one of our favorite sites in Jordan: Um Qais, the ancient decapolis city of Gadara, where Jesus cast the swine out of the Gadarene. The ancient city overlooks the Sea of Galilee (Lake Tiberius) and the Golan Heights.

The Golan Heights are seen on the right, in the distance, and the Sea of Galilee, faintly, right in the center of the photo.


We attempted our annual family photo while in Um Qais, however we forgot the tripod, so the picture isn't the greatest and capturing the moment was a little stressful. Can you hear the commands we are muttering to each other through our smiles? I hope not!


I like this one of the kids:

My last cyclamen sighting of 2011, and my first of the new wildflower season:

Cyclamen persicum
Um Qais

After a long day outside, we spent too long searching for a good restaurant at which to enjoy a good Arab meal together.

Utopia, with it's retro-modern decor, way too many items on the menu, and few customers was a dubious choice for a good Arab meal, but the kabaab and shish-tawouk were delicious--the perfect end to a lovely day.

The rest of the week was spent lolling around, working on some felted wool items for the college kids, visiting friends, having friends up from Amman, reading books on all the new Christmas Kindles, eating too much sugar, and constructing the annual gingerbread house, made after Christmas for the first time.

Dear Husband and I welcomed the new year quietly, at home, while our kids celebrated with friends well past midnight. Our final celebration of the week was enjoying sweet fellowship and delicious salmon chowder for New Year's lunch with dear friends in Amman. Happy New Year and !كل عام وأنتم بخير God's richest blessings on you in the coming year!

Thursday, December 22, 2011

Our Humble Estate

So often at this time of year I meditate on the humble circumstances of my Lord Jesus's incarnation: born in a manger to a young virgin who was betrothed to a simple carpenter. This year it is the humble estate of our humanness that is coming into focus; my prayer card seems too long this advent season, as I remember family and friends who have recently been touched by death, illness, hospitalization, financial stresses, relationship difficulties, hurting children, political turmoil, and unstable living situations. My initial thought was that this is such a hard time of year to face such affliction. Then, I was reminded that this is why Jesus came to earth--and, oh, do we ever need a Savior right now! We can bear the heartaches and affliction because, Immanuel, God with us.

This advent season I had the privilege of beholding the beauty of this painting on a serendipitous visit to England's National Gallery with Artist Son, and as a family we have memorized The Magnificat:

Adoration of the Shepherds
by a pupil of Rembrandt
The National Gallery, London

And Mary said,
"My soul magnifies the Lord,
and my spirit rejoices in God my Savior,
for he has looked on the humble estate of his servant.
For behold, from now on all generations will call me blessed;
for he who is mighty has done great things for me,
and holy is his name.
And his mercy is for those who fear him, from generation to generation.
He has shown strength with his arm;
he has scattered the proud in the thoughts of their hearts;
he has brought down the might from their thrones
and exalted those of humble estate;
he has filled the hungry with good things,
and the rich he has sent away empty.
He has helped his servant Israel,
in remembrance of his mercy,
as he spoke to our fathers,
to Abraham and to his offspring forever."

Luke 1: 45-55

Tuesday, December 20, 2011

That Only Took About Fifteen Years ~or~ Felted Wool Christmas Stockings for the Artist Son and Tayta

I'm guessing I'm not the only mom who has followed this (downhill) trajectory when it comes to handmade gifts for her children:

Oldest Daughter: cross-stitched Beatrix Potter alphabet quilt (that one only took about 500 hours to complete), cross-stitched birth sampler (done by friend), cross-stitched Christmas stocking
Active Son: no quilt, but he received a smaller birth sampler and a less complicated cross-stitched Christmas stocking.
Artist Son and Tayta: lots of good intentions--I still have the patterns and fabric to prove it.

Artist Son and Tayta have been making due with inexpensive store-bought Christmas stockings for many years now, but thanks to my new-ish felting hobby, they now have handmade Christmas stockings.

The reds and greens are a little hard to capture with the camera, but I'm very happy with the color combinations--the kids said they reminded them of the Jordanian flag, so these will carry more than one memory.

My inspiration and pattern supplier came from this post on Moda Bake Shop blog. I cut my strips to the same dimensions minus the seam allowances on the width: 18 inches by 2 inches narrowing to one inch.

A few variations for making these with felted wool:

My stockings aren't quilted--they are just a front and back, sewn, right sides together, turned and pressed. To piece the felted wool I butted the edge of two pieces of felted wool together and zig-zagged them.

I attached the front of the stocking to the back (cut from a solid piece of felted wool) by placing right sides together and sewing a very narrow seam (about 1/8 inch). After turning the stocking, I steam/pressed it.

The top band was made with a band of felted wool cut to 3 inches by 15 inches. I sewed the short edges together to make a continuous band, then pinned the band on the inside of the stocking, right side of band next to wrong side of stocking, sewed a very narrow seam (about 1/8 inch), turned and pressed.

I also made these a little longer by using 12 strips instead of 10. Finished dimensions: 7.5 inches across the top band, by 19 inches, measuring to the lowest point of the toe.

I plan to personalize these stockings for Artist Son and Tayta, but that requires a trip into Amman for just the right wool yarn. Hopefully that won't take me another 15 years.

Friday, December 16, 2011

Winter Beauty

Winter Crocus, Colchium Genus

Wildflower Spotting: Ajloun Nature Reserve

Monday, December 12, 2011

The New Sweet Potato Casserole

First of all, the New Sweet Potato Casserole is not a casserole at all, but it does replace our longstanding, well-loved, yea even passed down from my dear mother-in-law, traditional holiday sweet potato casserole. I felt a twinge of sentimentality and disloyalty giving up this recipe, but since one serving probably has more sugar and fat in it than a piece (or two) of sweet potato pie, the twinge quickly passed. We are moving on to healthier menus, as is my mother-in-law so I'm sure she wouldn't begrudge the new recipe.

Besides being healthier, this new recipe is so easy to make and can be adjusted to any amount of sweet potatoes you decided to roast. I have only this measly portion of roasted sweet potatoes to offer in my picture as I forgot to photograph them right away, and this is all that was left.

Roasted Sweet Potatoes with Olive Oil and Brown Sugar/Chipotle

Peel and cube as many sweet potatoes as you wish to roast. I make my cubes approximately 1-1.5 inches square. Place sweet potatoes in large bowl and toss with some olive oil. Sprinkle with spice mixture, tossing well to coat all the potatoes.

Below is the recipe for the spice mix and you can use as much or as little as you want, depending on the amount of potatoes you are roasting. I confess, I haven't really measured how much I've used as I've roasted disparate quantities. While the chipotle adds a pleasing, distinctive flavor, this spice mixture is great without it. Confession: on Thanksgiving I accidentally added taco seasoning instead of chipotle and everyone loved it.

Place prepared sweet potatoes on a backing sheet (or two) and roast for about 45-60 minutes about 375 degrees F. This is an estimate--I check mine and when they look like they are browning on one side I turn them carefully with a large spatula, so not to mush the soft potatoes so that they will roast/crisp evenly. Don't worry about making too many--these will disappear quickly and make great leftovers.

Spice Mix
(inspired from Donalyn's Ketchum's blog for a different recipe)
3 Tablespoons brown sugar
1 teaspoon salt
1 teaspoon cumin
1 teaspoon chili powder
1 teaspoon paprika
1/2 teaspoon chipotle powder
1/4 teaspoon garlic powder

Sunday, December 11, 2011

A Few Felting Tips

Since a couple of friends commenting on my last post indicated that they may be heading to the thrift stores for some wool sweater treasure hunting of their own, I thought I'd post a few things I've learned about felting sweaters in case it may be of some help. Some of this wool wisdom I've gleaned from books or websites here and there, some of it I've learned from experience. I honestly can't remember which is which--except the pillowcases, which is a great idea, just not mine.

Choosing a sweater to felt:
Not all wool felts (shrinks) to the same degree so paying attention to wool labels is the first thing that will aid you in choosing good sweaters for felting:

Machine washable wool, in my experience, will not felt. Makes sense.

A sweater doesn't necessarily have to be 100% wool to felt. I believe a minimum of 70-80% is the rule of thumb.

Favorite wools to felt: lambswool, merino wool, some angora blend sweaters are very nice if they don't shed too much. Shetland usually felts well the first time but sometimes needs the encouragement of a second wash. Some cashmere felts better than others but all cashmere is wonderful and can be used as linings, for scarfs, baby blankets, etc.

A felted sweater is one in which you can no longer discern the knit of the wool--it all blends together.

I have felted a couple of woven wool skirts (vs knitted wool sweaters) with varying degrees of success. I plan to use this wool for craft accents.

Felting wool is part science, part art. I have purchased just a few 100% wool sweaters which didn't felt well, for no apparent reason, even if I washed them twice in boiling water. Maybe a dryer would have helped at this point--I'm not sure, but I've read that a dryer can help if a sweater isn't felting well. I've also felted sweaters, a large fisherman wool sweater from Ireland comes to mind, which I wasn't sure would felt well as the weave was loose. It felted so well that it was the thickness of a paperback book! I look forward to the felted surprises I find when I open my pillowcases. I've had a few disappointments but have been able to make things even with some of those--like a sleeping pad for our cat. Confession: I have thrown a couple felting disappointments in the garbage can.

Preparing the sweater for felting: I cut off the arms of the sweater and cut down the seam of the arm so that it lays flat. If you don't do this, the wool of the sweater arm may crease in the wash. I leave the bodice intact as I haven't experienced the same creasing problem here and sometimes Tayta likes the bodice intact for particular purse patterns.

As I mentioned before, I do a batch of like colors (especially with reds which tend to bleed like crazy) and each is enclosed in an old pillowcase so that fibers don't mix. Rubber bands will have to be replaced periodically and someday when I have time I will make zippered pillowcases.

Cleaning tip: Since I am drying my sweaters outside, I take the sweaters out of the pillowcases outside, give them a few good shakes, and the pillowcases as well. Some sweaters shed a little, some a lot. Maybe a dryer would take care of all this lintiness.

I also run a bleach load with the empty pillowcases periodically, to keep my washer clean. I read that somewhere out there on the world wide web.

And just because I like doing it, I steam/press all my wool and make lovely color coordinated stacks.

A couple more sources of wool felting inspiration:

Warm Fuzzies, by Betz White
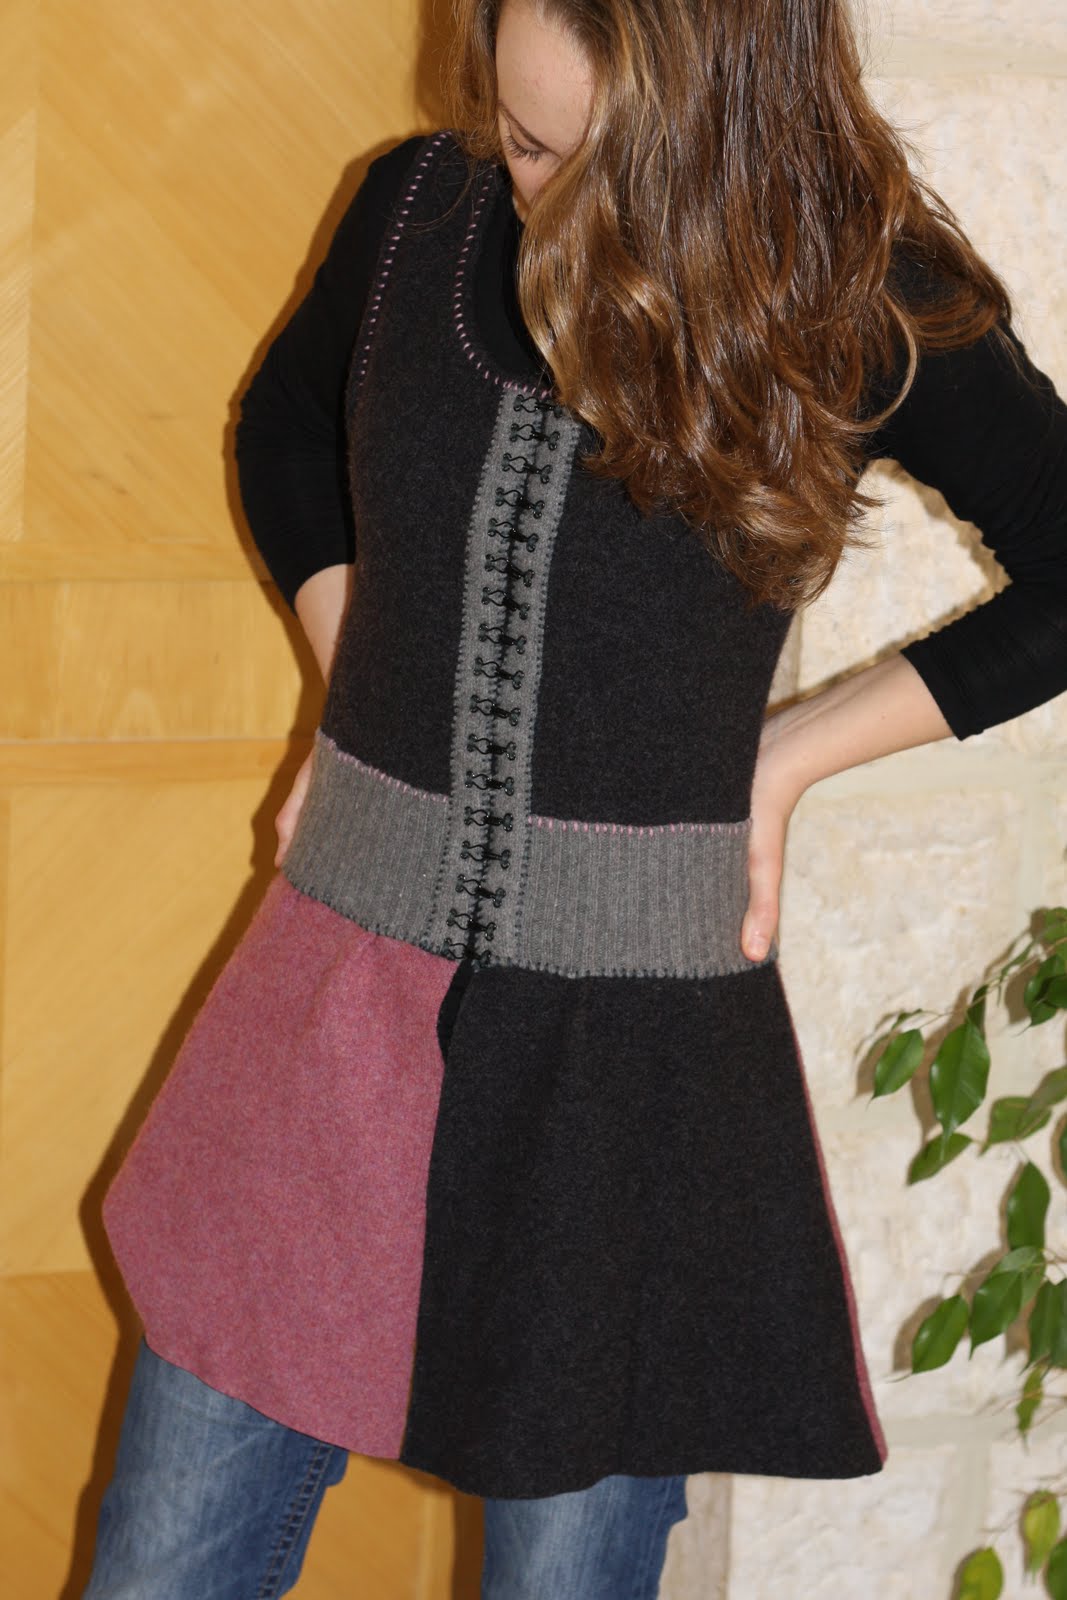
This is the other book on felting that I own and it contains a lot of fun, do-able ideas. The projects are more finished/less artsy than the ones in the Sweater Chop Shop--equally inspiring, but in a slightly different direction.

Kris, who blogs at RESWEATER is one of those artisans who has expanded my repertoire of ideas of what can be made from felted wool. Check out her blog for lots of inspiration. She also sells sweaters for felting.

Edit: Here are a few great tips from Kris: A post which discusses working with wool blends and couple more comments:

Washable wool is treated, so that it will not felt. For felting, avoid the wording "machine washable", "washable wool" or "superwash". They should say "dry clean only" or "hand wash cold". Merino wool is the most common wool that is treated to not felt.

You do not need to felt a sweater until the knit disappears to be able to cut without unraveling. I like to "lightly felt" chunky knits, so they do not get so thick that you can't work with them.
hth!

And since I've been too sick this week study much or bake, I finished my intended Christmas ornaments this weekend. One thing we do have in Mafraq is pine-cones, so all my Christmas trimmings are focused on using that beautiful element to the utmost. The head, cap and scarf are made from wool scraps--the head from a sweater that didn't felt! Inspiration was found, where else. Oh, and I modified the hat template from Martha Stewart's site, here.

Pine Cone and Wool Elf (I've added eyes with a black maker since taking this picture)

Thursday, December 08, 2011

Peace, Love, and Save the Wool

It began so innocently, my obsession with felted wool, when I casually thumbed through a book my mom had checked out of the library:

Sweater Chop Shop

One Google search lead to another and I had soon amassed inspirations for dozens of felted wool projects. I was dazzled by the possibilities and ready for another bold textile endeavor, similar to my quilts from recycled denim. That was fall 2010, when I was still in the States, and soon after we returned to Jordan I began frequenting the Friday open market which specializes in used clothes from Europe and the U.S.

My good friend once referred to the used clothes market as her lily field, as in Consider the lilies of the field... But if God so clothes the grass of the field, which today is alive and tomorrow is thrown into the oven, will he not much more clothe you...Back in the day of raising small children with very few and then, expensive, imported clothes, we young mothers spent many hours at the used clothes market so as to clothe our families.

I knew that amongst the crowds, yelling hawkers, and pallets of old sweaters there were wool treasures to be found, and so the treasure hunting ensued. I purposed to spend as little money as possible so stuck to the cheaper stalls, buying my wool sweaters for approximately $.70 or $1.40 each. The fun of buying old wool sweaters to felt and repurpose (the new recycling ling0) is that they don't have to fit! I can use any sweater as long as it is made of good wool. A few especially fortuitous finds have yielded cashmere sweaters which actually do fit. My first cashmere sweaters. I found one for Dear Husband too.

I was perhaps a little enthusiastic about my wool treasures and by the end of the winter season, when the sweaters are no longer in the market, I had purchased and felted oh, about 100 sweaters--maybe a few more ? We don't own a dryer so felting the sweaters was done by placing each one in an old pillowcase (to keep fibers from mixing), secured with a strong rubber band, washed in batches of five or so in boiling water, and hung out to dry. Wool drys quickly and we have plenty of sunny winter days, so this was do-able.

Storage was a problem, sort of, so I temporarily stacked my wool (pressed and according to color) in our spare room. I can't really put my finger on exactly what I relished about this felting process, but I enjoyed it a lot and found a lot of satisfaction in gazing at and touching my colorful stacks--true confessions here. My kids thought I was a little nutty.

The purples and lavenders

the reds

and the naturals


But when I starting making things with the felted wool, my kids caught the vision. I began with a challenging project. Oldest daughter was home on her January break, thumbed through a purchased copy of the same book had set me off on felting and found something that she would dearly love me to make for her before returning to school. How could I refuse?

The design for this jumper came from The Sweater Chop Shop (link above) and was made with parts from four sweaters. The edge stitching and some of the piecing (waist band) was done by hand with DMC wool yarn. The side seams of the bodice and the skirt panels were sown by machine. (The author of the The Sweater Chop Shop, Crispina Ffrench, sells these sweater creations for a pretty penny on Etsy.)

I sent her back to school with a pair of wool mittens, lined and cuffed with cashmere:

Instructions and a pdf pattern for the mittens can be found at the Purl bee blog. Instead of knitting the cuffs, I use the ribbing of the cashmere sweater I use for the lining.

I made cashmere scarves, ruffling the edges with a simple zig-zag stitch, holding the wool taut as it went through the machine :


And more cashmere lined mittens for family and friends who live in cold places:

Next came the Kindle sleeves, so easy, inexpensive, and practical:

When Active Son was young, one of his all- time favorite toys was a cloth covered foam ball that he played with until it was falling apart. With his love for that ball as my inspiration, I made these wool covered balls for a sweet one-year old's birthday. Again, the pattern is found at the Purl bee:

Soon, Tayta got into re-purposing wool act. This jumper was a project we worked on together, loosely based on a design in The Sweater Chop Shop:


And then she was off and running on her own. Purses are her specialty. Here's one made for a young friend when a birthday present needed to be whipped up in a matter of a couple of hours:

And here is one of her favorites that she made for herself:


Now that winter is here, I have lots of projects in the works--too many, of course: more mittens, scarves, a cape for Tayta (almost finished), Christmas stockings, Christmas ornaments...What couldn't you make from felted wool? One young man we know ventured that well, you could even make a wool house--he lived in one growing up in Mongolia! Maybe next year...

Friday, November 25, 2011

House Tour~ The Salon

Welcome to our "salon", also known as gurfit id'dayuf, or guest room. When we first moved to Jordan 22 years ago, I was put off by the formality of the Arab guest room. Popular furniture sets were in the style of of Louis XVI, with elaborate curlicues and gilding, and entire walls were draped in heavy fabric. One didn't purchase individual pieces of furniture, but rather a complete seven seat set (couch, love-seat, two chairs) all upholstered in the same fabric.

Our salon, as decorated here, is how I've made peace with the concept of a formal guest room. We had this set of furniture made (common here) about 15 years ago and I chose complimentary fabrics rather than just one for all the seats. In a bold move, I also mixed chair styles. Some of my friends really liked it and some others asked why I didn't use all the same fabric. This is the largest room in our home, and the dimensions/layout are almost exactly those of our previous home. While I have eschewed the opulent faux-crystal chandeliers, I have embraced the oriental carpets.

A view from the front sunroom entrance

Ideally the couch would be away from the door, and we may still move it, as the most inside seat, the one farthest from the door, is considered the most honorable place to seat a guest. Often a guest will begin to take the seat closest to the door, but the host who seeks to honor his guest should insist that he be seated away from the door. Nesting tables which are located between the two larger chairs are essential furniture as they are placed near the guests when refreshments are served. Here is a view taken from the other end of the salon:

The other end of our salon in our formal dining area. I am lacking the traditional, ornate china cupboard, but have instead an antique Damascus wedding chest, with which Dear Husband surprised me on our 20th wedding anniversary.

It is made of heavy oak (the lid is all one piece) and is inlaid with mother of pearl outlined with silver. Dear Husband once wondered aloud what we would do with it if we ever move overseas to which a male friend instantly replied, "Take it with you, of course." I told our friend thank you, of course!

The main modification we made to this room before we moved in was adding the large, Arab-style double door which opens up into our family room. We usually keep the doors open but can also close them when Dear Husband is entertaining male guests.

That completes the tour of the two rooms of our home that I keep picked-up and uncluttered all the time. The other rooms will likely need to be tidied before I photograph them!

Tuesday, November 15, 2011

A Perfect Autumn Stew

We're enjoying a number of new dishes around here, thanks to Pinterest and this week's meander through the food page yielded this recipe for a delicious chicken stew with butternut squash and quinoa. Butternut squash isn't a staple in Jordanian markets, but I can hope that may be changing; I found lovely butternut squashes in the open air market last Friday--not even in the western-style supermarket! We all agreed that that this stew provided a full sensory experience: vivid autumnal colors, delicious blend of flavors, pleasing textures, and savory aroma.


Cookin' Canuck's fantastic recipe was my inspiration. I have added a couple of ingredients, adjusted a few quantities, and slightly modified the cooking process.

Chicken, Butternut Squash, and Quinoa Stew

Ingredients:
1 1/2 lbs (2 small) butternut squash, peeled, seeded, and chopped into 1/2 inch pieces
4 cups water
1 1/2 lbs (approximately) boneless, skinless chicken breasts cut in bite-size pieces
2-3 Tbsp olive oil
1 large onion, chopped
1 1/2 tsp salt
5 cloves garlic, minced
2 tsp dried oregano
1/2 tsp (or a little more) red pepper flakes
1 28 oz (or 800 g) can diced tomatoes
1/2 cup uncooked quinoa (I like red. If you use white, rinse the quinoa well before cooking.)
3/4 cup sliced kalamata olives
1/3-1/2 cup minced fresh flat-leaf parsley

  • Cook quinoa in a small saucepan. I used red quinoa and cooked 1/2 cup quinoa in 1 cup water.
  • While quinoa is cooking, steam the squash until just tender, about 10 minutes. Set aside half the squash. Add 1 cup water to the remaining squash and mash well with the back of a fork.
  • Brown chicken in olive oil, adding salt, oregano, red pepper flakes, then onion and garlic as the liquid cooks out and the chicken browns.
  • When chicken and onion/garlic is cooked and browned, add three cups water and simmer a few minutes.
  • Add tomatoes, mashed squash w/water, cubed squash, and quinoa. Let stew simmer about 15 minutes.
  • Stir in olives and parsley, simmer a few more minutes and serve.

Tuesday, November 08, 2011

House Tour~The Sun Room

We've been in our new home for two months now, boxes are all unpacked, furniture arranged, light fixtures installed; all that remains are a few pictures to be hung and a few window shades to install. This is our new home thanks dear friends whose home it was for 14 years before we moved to Mafraq. Planning to spend at least a year back in the States on an extended leave, they decided they wanted to give up their house and offered it to us, sparing us the laborious task of searching for a new apartment in a city where good rentals aren't readily available, let alone realty companies or want-ads to help you find them.

Our "flat" is the bottom floor of this traditional middle-aged Jordanian home. A young couple lives in one of the flats upstairs and the other is presently empty. As you can see, we have a large front yard with lots of dirt--which Dear Husband ordered in shortly after we moved. We brought the stones from our garden in Amman and a few perennials, which we are getting planted. (And, the trees were pruned today, after this picture was taken)

The big tree on the left is a bitter pomegranate--not sure why anyone would want one of those, but it is pretty--and the the little (look hard) tree on the right is a sweet pomegranate which Dear Husband recently planted. He likes symmetry! We have about five olive trees, seven or eight lemon trees, and a small pomelo tree. Oh, and a lowquat tree. I'll take another picture in the spring when, hopefully, the flowers will be more visible. I am so thankful for this yard! It is very unusual to have such a big yard in this city. When I look out the front windows, I feel like I am looking out into a park.

Into the house...

This is our second house in Jordan to have a south-facing sun room. I think every house should have a sun room, even a small one, and it is to this room that people gravitate for a few moments alone in the morning or afternoon with a book and a cup of tea. When Oldest Daughter was still at home, the sun room was her favorite place to practice the violin. I miss that.

This is the straight-on view when you come through our front door. The large double doors lead to the family room and the interior of the house.

To the right, is a narrower set of doors which lead into the sitting room, or guest salon and dining room. Traditional Arab homes have doors which close off guest rooms from the rest of the house so that men can visit the husband while the rest of the family, particularly the women, can carry on with living, uninhibited, in the rest of the house. Dear husband sometimes has guests which I never even see.

To the left is the sitting area of the sun room, and more plants. I'm not very clever with houseplants but I have learned of two that love direct sun: ivy and ficus. Thus I have have three ficus trees and three ivies happily thriving here. The nifty old black trunk (It has Ramallah via Jerusalem stamped on the side) on the left is my... linen closet. It really is. Jordanian homes usually don't have built in closets, instead we have cupboards, wardrobes, and trunks for storage.

This photo shows the the bright sunlight steaming through the sun room window. The bars on the windows are for protection. Robberies are rare and they say that the iron bars are the reason why. I'm used to them now and they even seem kind of decorative. They also offer protection to small children who like to hang out upper-story windows.

This is my new-ish succulent garden. Two or the plants are aloe-vera, which we really do use to sooth burns and other skin irritations. The others are new to the market here and I jumped on the succulent-fad band wagon a bought a few for our home. They remind me of my California childhood, so for me it is a retro-garden. I'm hoping to plant a succulent garden outside this spring.

Friday, November 04, 2011

Autumn Accumulation

The hardest thing about letting the blog go for awhile is jumping back in again; so many thoughts and events have accumulated, but it is beyond me to blog them all. I'll just make this about our autumn, which is really not much of a season at all in Jordan, and try to keep going.

I love the weather patterns in Jordan, arid and warm, so I am not really complaining, but I do miss autumn. No stunning golden and crimson leaves to intoxicate my vision, just the lovely fall-ish golden sunlight coming through the windows on a fabric-leaf wreath a dear friend so lovingly made for us when she found out we had no fall leaves.


We do some leaf color changes in Jordan: from gray to green. After a long rainless summer, the accumulation of dust casts a grayish hue over the landscape; everyone rejoices when the first rain falls. We've received a few good downpours in the last 24 hours and this morning, between cloudbursts, I spent some time walking around the garden, admiring the green leaves which have been covered with dust since we moved in. We recently spread bags of sheep manure in the garden, so it smelled fresh, indeed!


With no further aideu, we head into the winter/rainy season, which on one hand we hope will be very rainy, but on the other we hope will not be too terribly cold. Homes generally have poor insulation, and are difficult and expensive to heat, but a beautiful spring will make it all worthy it. Though we don't really have an autumn, the Jordanian countryside puts on a riotous show of wildflower color in the spring if the rains are abundant. It is Jordan's most beautiful season of all.

We are cozily secure in our new home in Mafraq, and now just have minor things to do, such as hanging pictures and painting mirror frames. Tayta and I have been on a creative adrenalin high since being introduced to Pinterest a few weeks (don't click this link unless you have some free time.) After letting myself be sucked into it's vortex and swirled around for a couple of weeks, I found my equilibrium and can now spend a very modest amount of time on Pinterest, and find a lot of useful DIY, craft, garden, recycling, cooking and baking ideas. A couple recent results of all the creative inspiration: this sweet needed-for-ages sewing machine cover that I made from an over-sized European pillowcase I found in the used clothes market. I love the colors!

These simple garden markers were made from a recycled yogurt container:

An then there are the pine cone decorations and some really great recipes we've tried...

We continue to make new friends and otherwise get involved in the Mafraq community. Artist Son has been playing drums for the Arab church we are attending and he and Tayta will go with the shabibi, or youth of the church on an outing this week. I've been spending too many (sometimes angst filled) hours searching out college options for Artist Son as he prepares sit for his last SAT exam and apply to colleges. I can now fill out the online scholarship/financial aid calculators with one hand tied behind my back. I'm thankful that we seem to have narrowed the field to three schools, two of which require portfolio submissions and artist statements. Remembering is important: God has so faithfully and generously provided for Oldest Daughter and Active Son. He will provide for Artist Son as well.

Thursday, October 06, 2011

Baking with Olive Oil

Before moving to the Middle East twenty three years ago, I don't recall eating much olive oil (any?) and I certainly never cooked or baked with it. That was back in the day of Wesson Corn Oil and affordable, readily available olive oil hadn't yet hit the mass market in the U.S., at least not in Idaho.

When we moved to Jordan in 1988, I began to learn the many uses for olive oil. Newly settled in our first apartment, I came home one day by myself and was unable to get my key to work in the big metal door on the outside of our building. Observing my struggle, a neighbor man told me to wait minute; he came back with a small jar of olive oil, some of which he took in his mouth, and then proceeded to put it in the lock. The lock yielded to my key with ease. And though this treatment was never administered to my children, infants were traditional rubbed with olive oil shortly after birth to "strengthen" them.

We've enjoyed olive oil as long as we've lived in Jordan but now that I've begun baking with it--it is the only cooking fat I use besides butter--we are enjoying it a lot, as in 20 liters (about five gallons) and counting, so far this year. Husband purchases our olive oil as many Jordanians do, by the "taniki" or tank.

Our comes from the olive groves of Mafraq, and now that we've moved to Mafraq we walk in the mornings through the same groves which produce our oil. (These groves are on the property which belongs to the hospital where Dear Husband works and are not open to the public, making them the perfect place for walking in the early morning. There is a paved road around the perimeter.)

Mid-October usually marks the beginning of harvest season. These olives look ready. We've a few olive trees in our new yard so perhaps we'll harvest those for pressing--they're looking rather puny after a summer of neglect, but every little bit helps.


Recipes which use olive oil abound and lately I've been looking for/trying recipes for cakes which call for olive oil. Below are three which I've found to produce delicious cakes:


Walnut Olive Oil Cake

This is a very simple, rustic cake but oh, so smooth and almost creamy in texture. My whole family loves this one.

The recipe comes from the New York Times, 2011, but I can't find the original link. I've only slightly adapted it.

2 cups flour
1 1/2 cups sugar
1 Tablespoon baking powder
1 teaspoon allspice
2 teaspoons cinnamon
1/4 teaspoon salt
1 cup ground walnuts (I grind mine in the blender)
3 eggs
1 cup milk
1 teaspoon rice or cider vinegar
1 cup extra-virgin olive oil

Preheat oven to 350 degrees F. In a large mixing bowl (I use my Bosch), whisk together the flour, sugar, baking powder, allspice, cinnamon, and ground walnuts. Add eggs, one at a time, then milk, vinegar, and olive oil. Beat just until thoroughly mixed. Pour batter into a greased 9 inch by 13 inch baking pan. Bake 30-45 minutes until golden and a toothpick comes out clean. Cool slightly before serving.


Orange Cardamom Cake

This recipe comes from Cooking Light, December 2007. I've adapted it by substituting olive oil for canola oil and I've increased the grated orange rind.


3 cups plus 1 Tablespoon flour
1 1/2 cups sugar
2 teaspoons baking powder
1 3/4 teaspoons ground cardamom
1/2 teaspoons ground cinnamon
1/2 teaspoon salt
3/4 cup fresh orange juice
2/3 cup olive oil
2-3 Tablespoons grated orange rind (about 1 orange)
2 teaspoons grated lemon rind
1 teaspoon vanilla
3 large eggs

Glaze:
1 cup powdered sugar
3 teaspoons fresh orange juice
1/2 teaspoon fresh lemon juice

Preheat oven to 350 F. Grease a Bundt pan with cooking spray and dust with 1 tablespoon flour.

In a large mixing bowl combine flour, sugar, baking powder, cardamom, cinnamon, and salt. If you are mixing by hand, make a small well in the center of flour mixture and add the orange juice, olive oil, orange rind, lemon rind, vanilla, and eggs. I used my Bosch and so just added the wet ingredients to the dry and mixed until well combined, scraping down the sides as necessary.

Pour batter into the prepared pan and bake for about 50 minutes or until a wooden pick inserted in the center comes out clean. Cool in pan for about 5 minutes and then remove the cake from the pan.

Drizzle glaze over the warm cake.

Marmalade Cake

I knew that any cake with an entire orange, an entire lemon (minus pulp and seeds), and ground toasted almonds had to be delicious. It was. This recipe comes from Orangette. Go there for pictures and the original recipe.

1 small to medium orange
1 lemon
6 ounces almonds
1 cup flour
1 Tablespoon baking powder
4 large eggs at room temperature
1/2 teaspoon salt
1 1/2 cups sugar
2/3 cup olive oil
powdered sugar

Prepping the ingredients:

Place the orange and lemon in a saucepan, cover with water, and bring to a boil. Reduce heat and simmer for 30 minutes. Drain citrus, and cool.

While the citrus is simmering, you can toast the almonds. Place almonds on an ungreased baking sheet in a 325 F oven and toast about 10-15 minutes. Watch carefully so as not to burn them, but don't remove them too soon. Almonds should begin turning golden brown (not dark!) and smell toasted. Cool toasted almonds and then grind them in a food processor.

Preheat oven to 350 F, and grease a 9 inch round springform pan.

Cut the orange in half or quarters and remove seeds. Cut the lemon in half and scoop out all the pulp along with the seeds. Place citrus in the food processor and process until very finely chopped.

Combine flour and baking powder in a small bowl. Combine eggs and salt in a larger mixing bowl and beat until foamy. Gradually beat in the sugar and then fold in the flour mixture. Next, add the citrus, almonds, and olive oil, and beat on low speed just until blended thoroughly. Do not over mix. Pour the batter into the prepared springform pan and bake for about 1 hour or until a wooden pick comes out clean. Cool the cake in its pan on a cooling rack. When cake is cool, remove the sides of the pan. Dust with powdered sugar before serving.

This cake keeps well for a few days; like a good soup, the flavors improve after sitting a day or two. Unlike soup, the cake should be stored at room temperature, covered with plastic wrap.